Easy Way How to Draw a Nose
For drawing beginners and experts alike, being able to draw a realistic human face that nearly looks like a captured photo is the ultimate goal.
The first step to drawing a human face is learning how to draw each and every single facial features first. One of the essential parts of the human face that you need to learn how to draw is the nose.
Fortunately, we have curated a step-by-step process on how to draw, summarized in 9 easy and simple steps.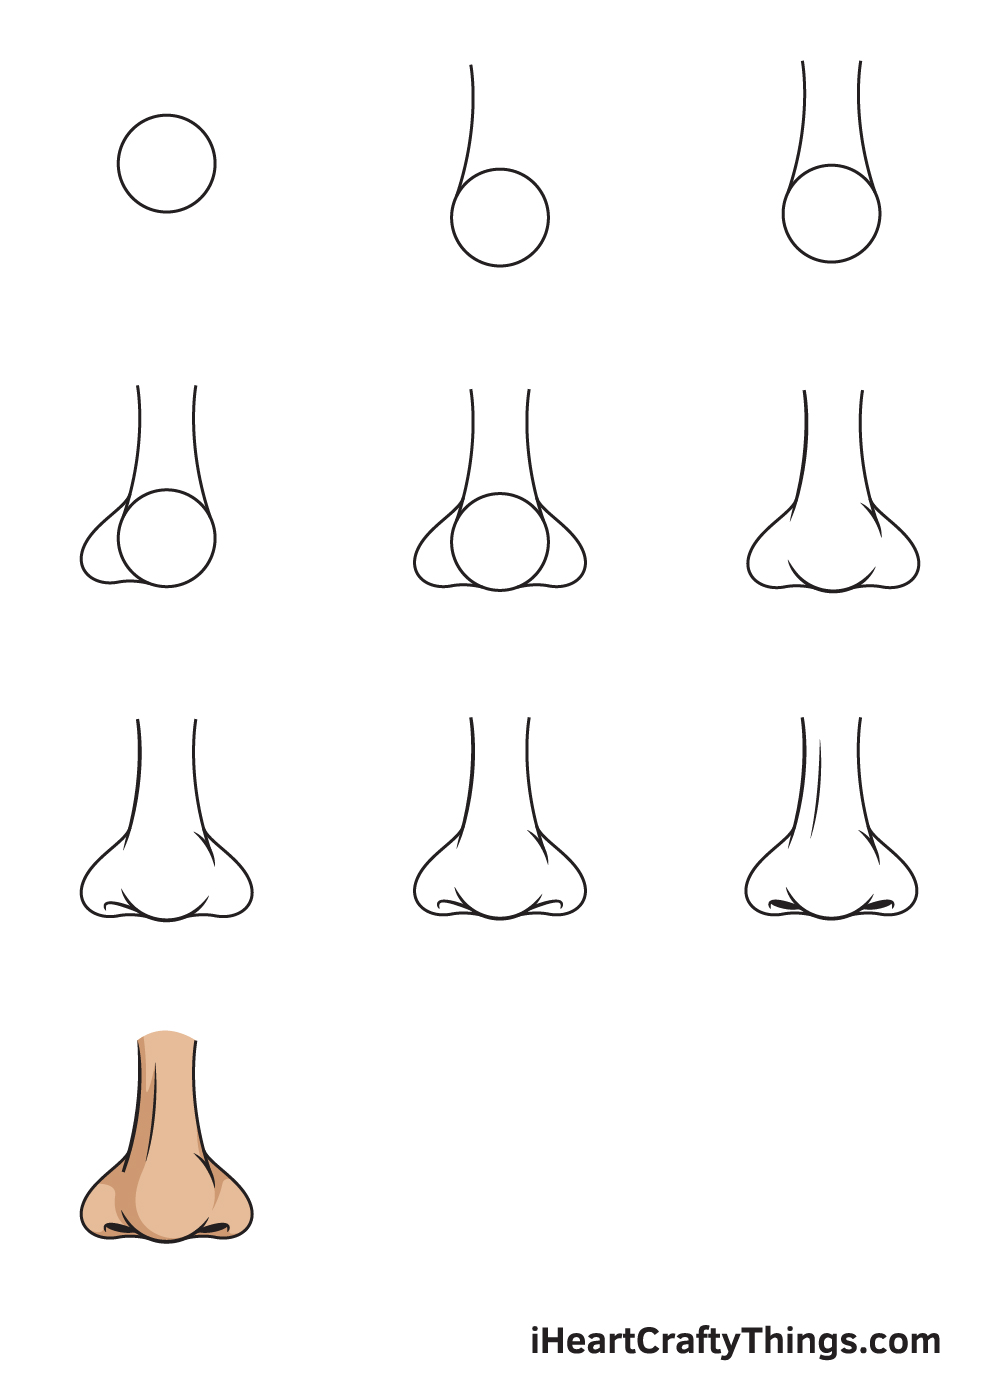
And to make the process a lot easier for you, we've created elaborate illustrations to accompany each detailed instruction so you'll have a visual guide.
With the help of this comprehensive guide, we're sure you'll be able to draw a nose in no time!
Have fun and use your artistic skills to draw a realistic looking nose!
What's in this Blog Post
- How to Draw a Nose – Let's get started!
- Step 1
- Step 2 – Sketch the Left Side of the Nose Bridge
- Step 3 – Complete the Form of the Nose Bridge
- Step 4 – Afterwards, Draw the Left Wing of the Nose
- Step 5 – Then, Draw the Right Wing of the Nose
- Step 6 – Then, Refine the Shape of the Nose
- Step 7 – Now, Draw the Nostril on the Left Side
- Step 8 – Next, Draw the Nostril on the Right Side
- Step 9 – Add Details and Textures on the Nose
- Do this to take your nose drawing to the next level
- Your Nose Drawing is Complete!
How to Draw a Nose – Let's get started!
Step 1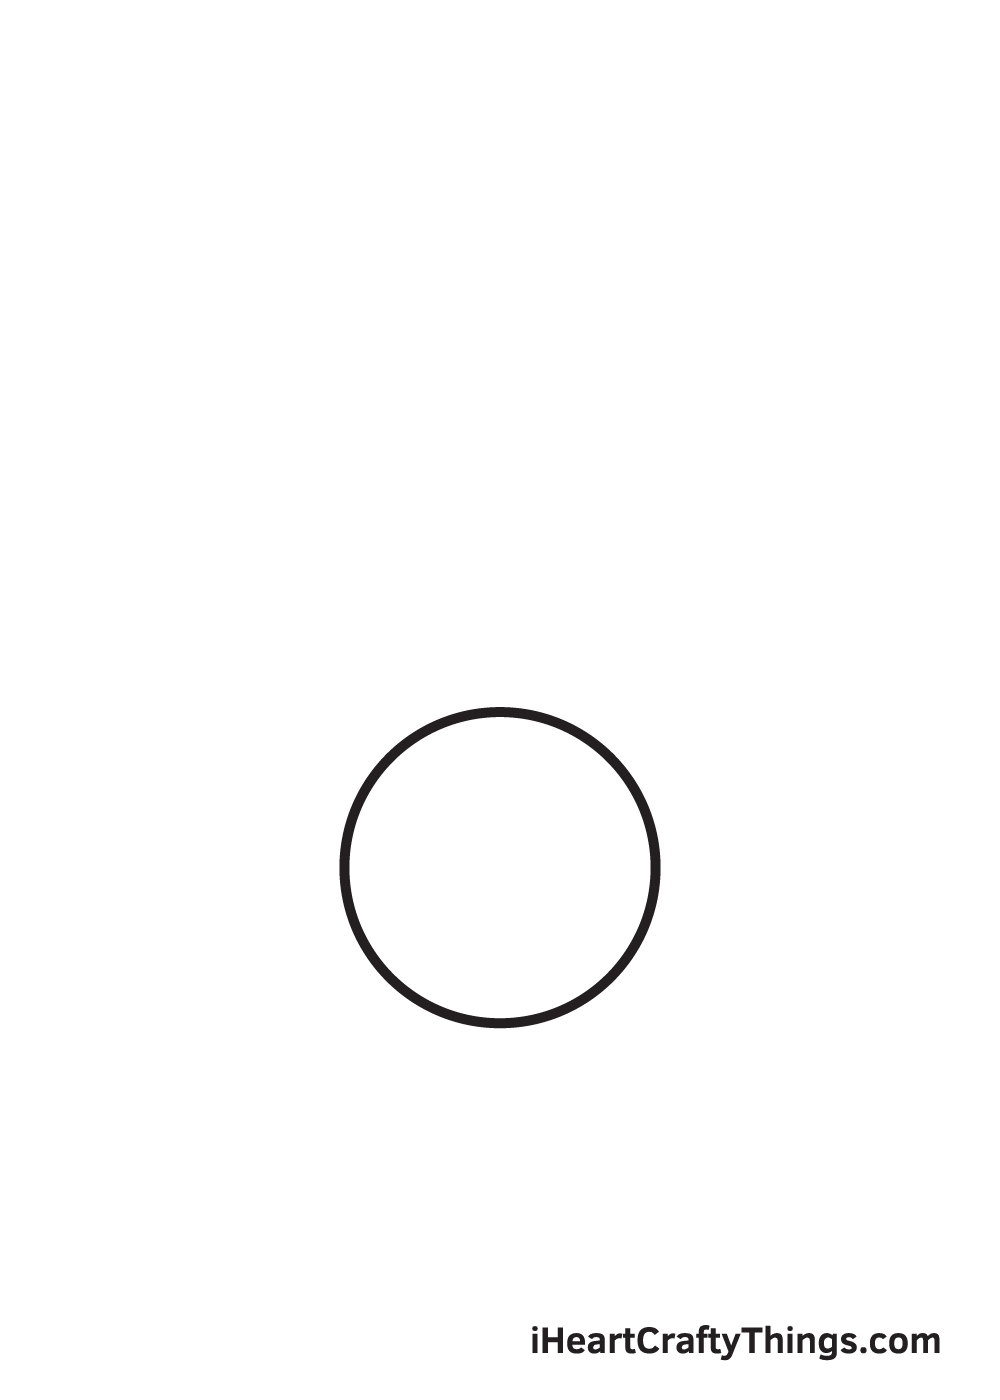
Starting on the lower portion of your paper, draw a small perfect circle to serve as an outline for the tip of the nose. This will also help you structure the nose a lot easier.
Avoid pressing down too hard with your pencil when drawing the circle outline. It's important to draw with light strokes so you can easily remove any part of the line that you no longer need later on.
If you can't freehand a perfect circle, don't worry! You can always use a compass, which is a drawing tool that helps you draw a flawless circle easily and quickly.
Step 2 – Sketch the Left Side of the Nose Bridge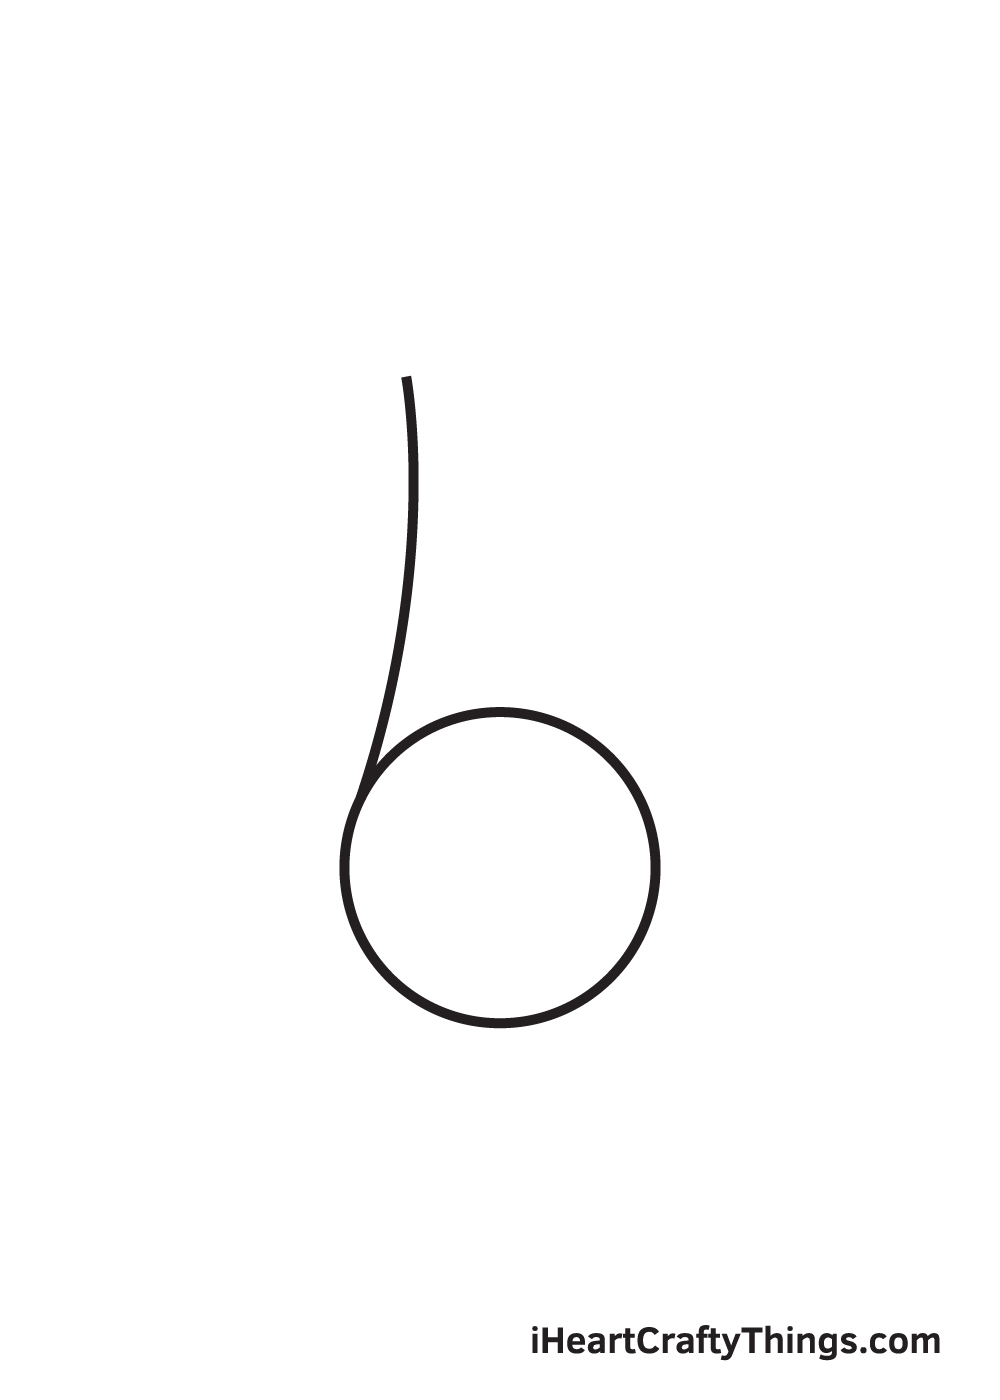
Draw a slightly curved vertical line going upwards beginning from the upper left edge of the circle shape that we drew in the previous step.
The line and the circle should be directly connected, forming the left side of the nose bridge.
Step 3 – Complete the Form of the Nose Bridge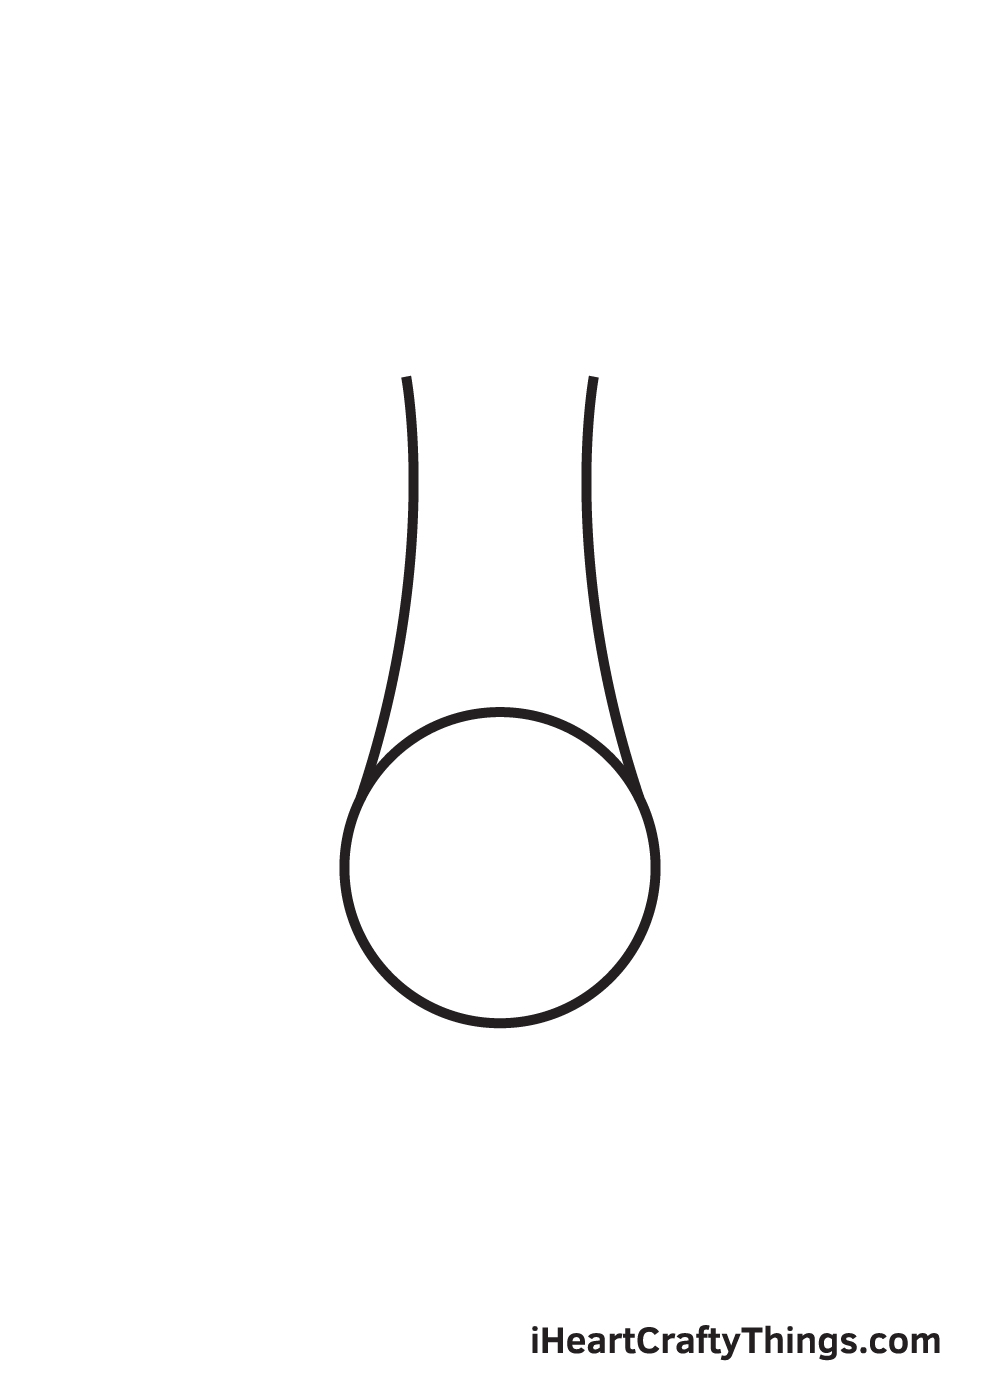
Repeat the previous step on the opposite side above the circle outline.
At this point, the form of the nose bridge should now be complete.
Step 4 – Afterwards, Draw the Left Wing of the Nose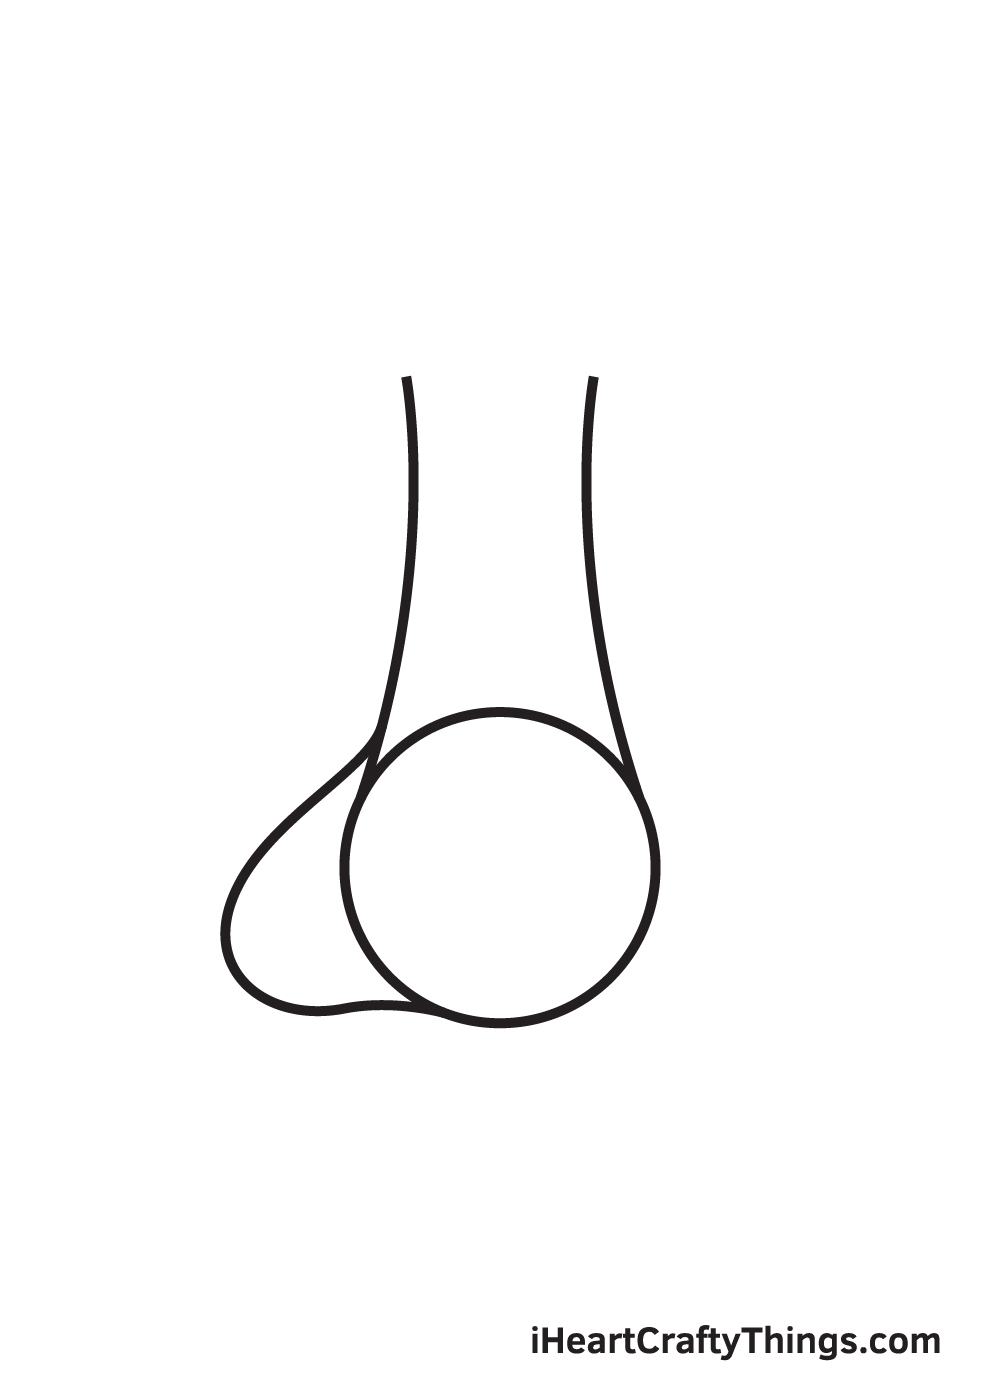
Using the circle outline as a guide, draw a sideways curved line to form the left wing of the nose.
Remember, the bigger the curve, the wider the nose will look.
Step 5 – Then, Draw the Right Wing of the Nose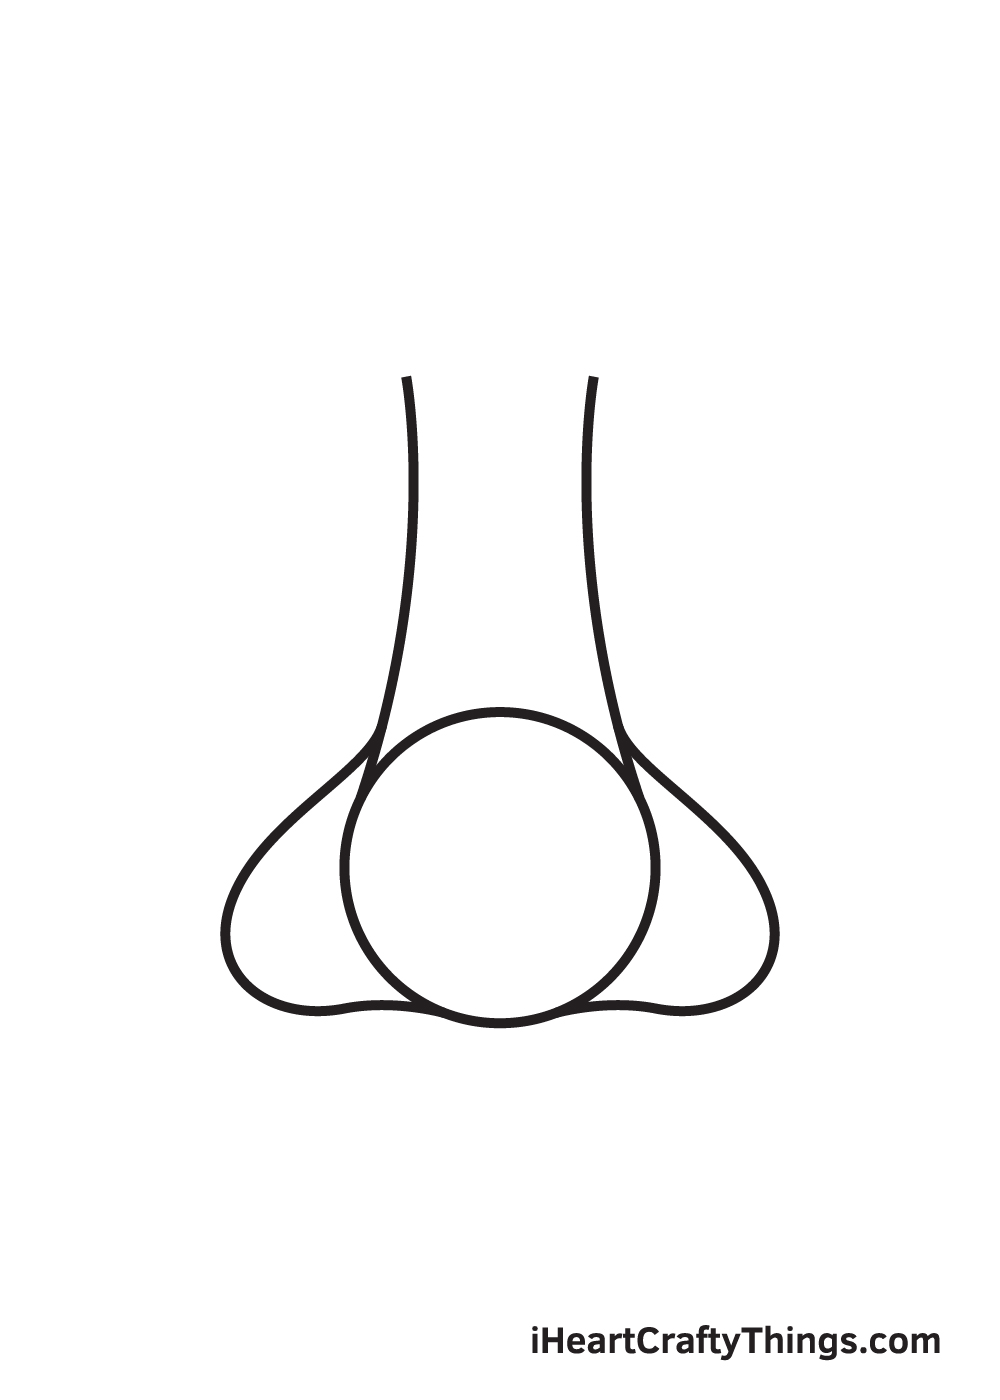
Repeat the previous step on the opposite side of the circle outline to create the right wing of the nose.
After completing this step, the left and the right wing of the nose should now be complete.
Step 6 – Then, Refine the Shape of the Nose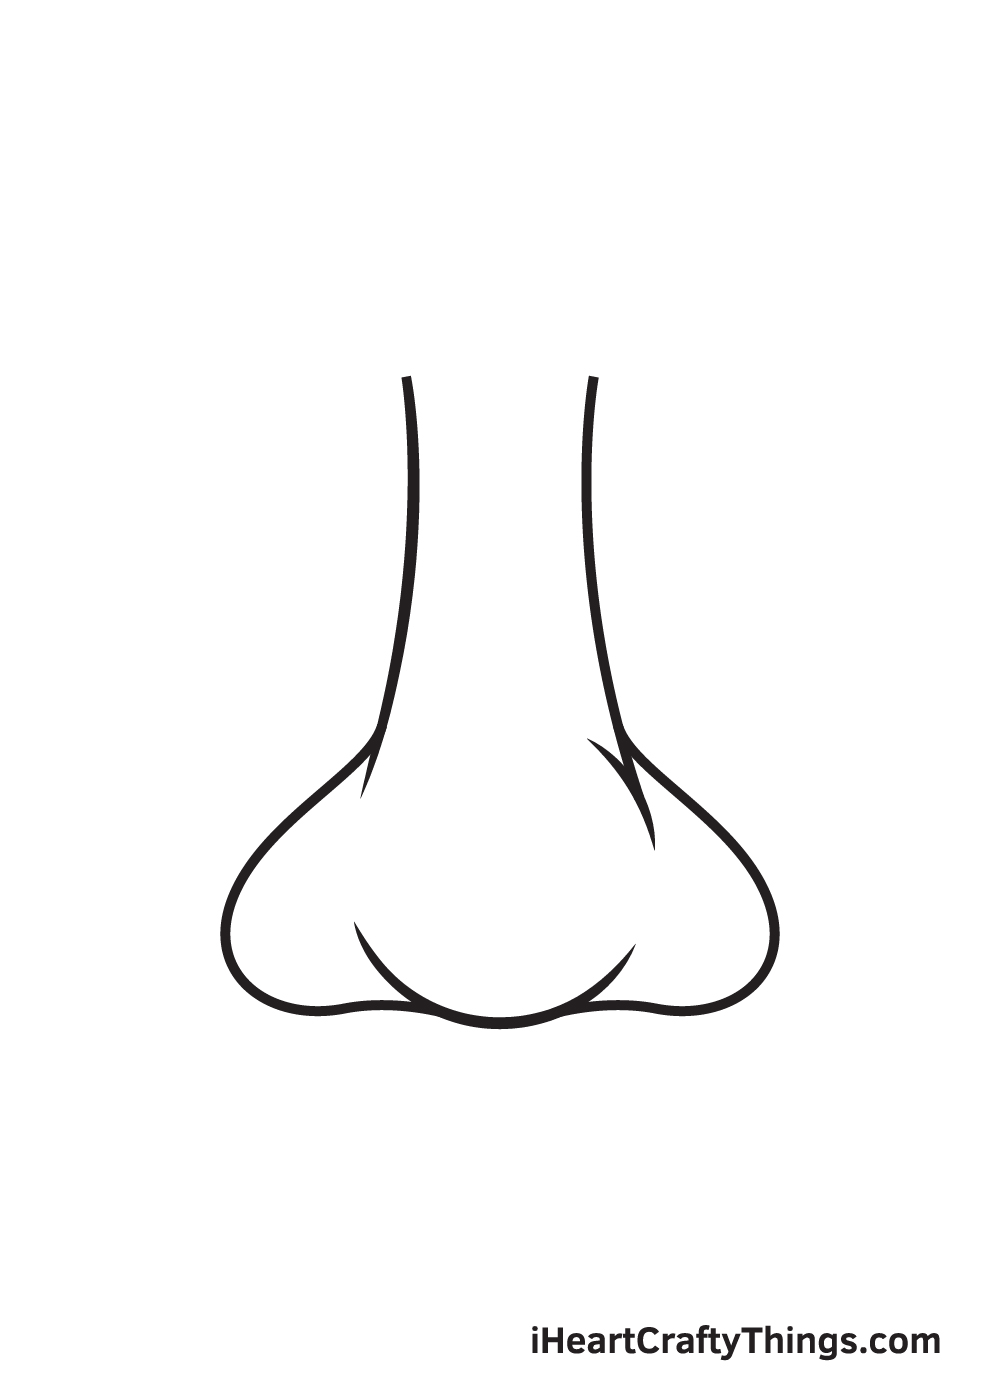
Polish up the form of the nose by erasing some parts of the circle outline that overlaps inside the nose.
You don't necessarily have to get rid of the entire circle shape, just a few lines that mess up the structure of the nose.
Keep in mind to leave out the bottom part of the circle as this serves as the tip of the nose, as shown in the illustration.
Step 7 – Now, Draw the Nostril on the Left Side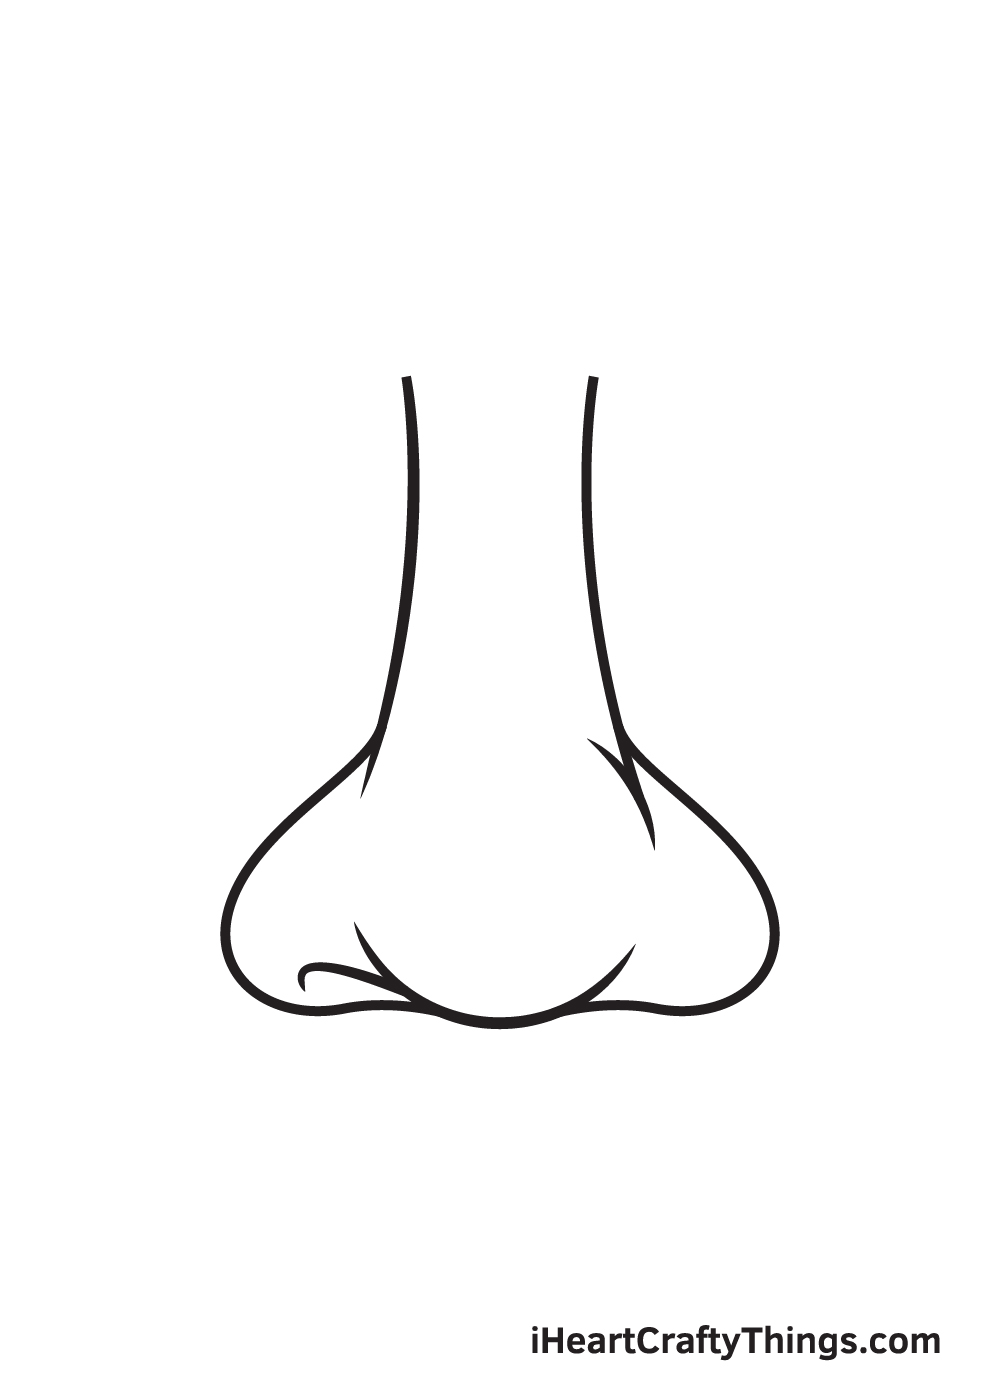
Draw a slanted line with a curved tip at the bottom of the left wing of the nose.
This creates the appearance of the left nostril.
Step 8 – Next, Draw the Nostril on the Right Side
Repeat the previous step on the right wing of the nose to complete both nostrils.
Try to make both lines as even and aligned to each other as much as possible.
Step 9 – Add Details and Textures on the Nose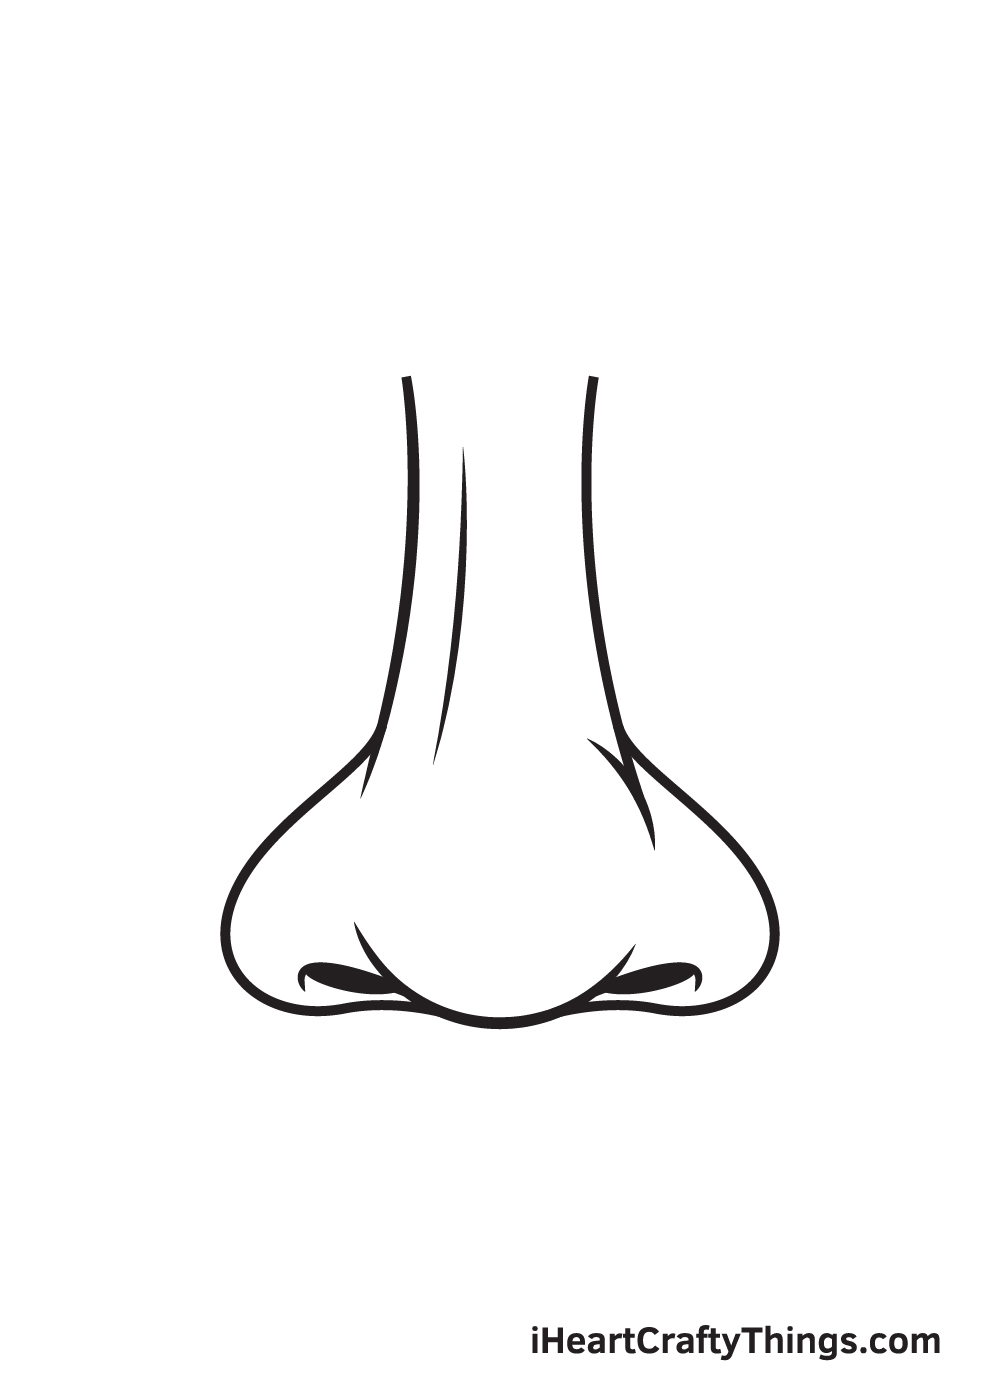
In this step, we will be adding details on the nose to add texture, making your drawing look a lot more realistic.
Continue by drawing a slightly curved, thin vertical line down the length of the nose. Afterwards, add shade underneath each nostril to create an illusion of depth.
As you can see, the nose has finally come together, now all it's missing is a splash of colors to make the nose look naturalistic.
Now that we've successfully drawn a nose, it's time to put a color on it. This is the part where you can show off your artistic skills, especially your ability to mix and match various colors.
To create a skin tone color, simply mix the colors white, brown, red, and yellow. Depending on the complexion you're trying to achieve, you may want to add more of a specific color.
Keep in mind that skin tone colors are most attainable when you're using coloring materials that are easy to blend like a watercolor!
Have fun playing with colors and watch as the nose in your drawing ultimately comes to life!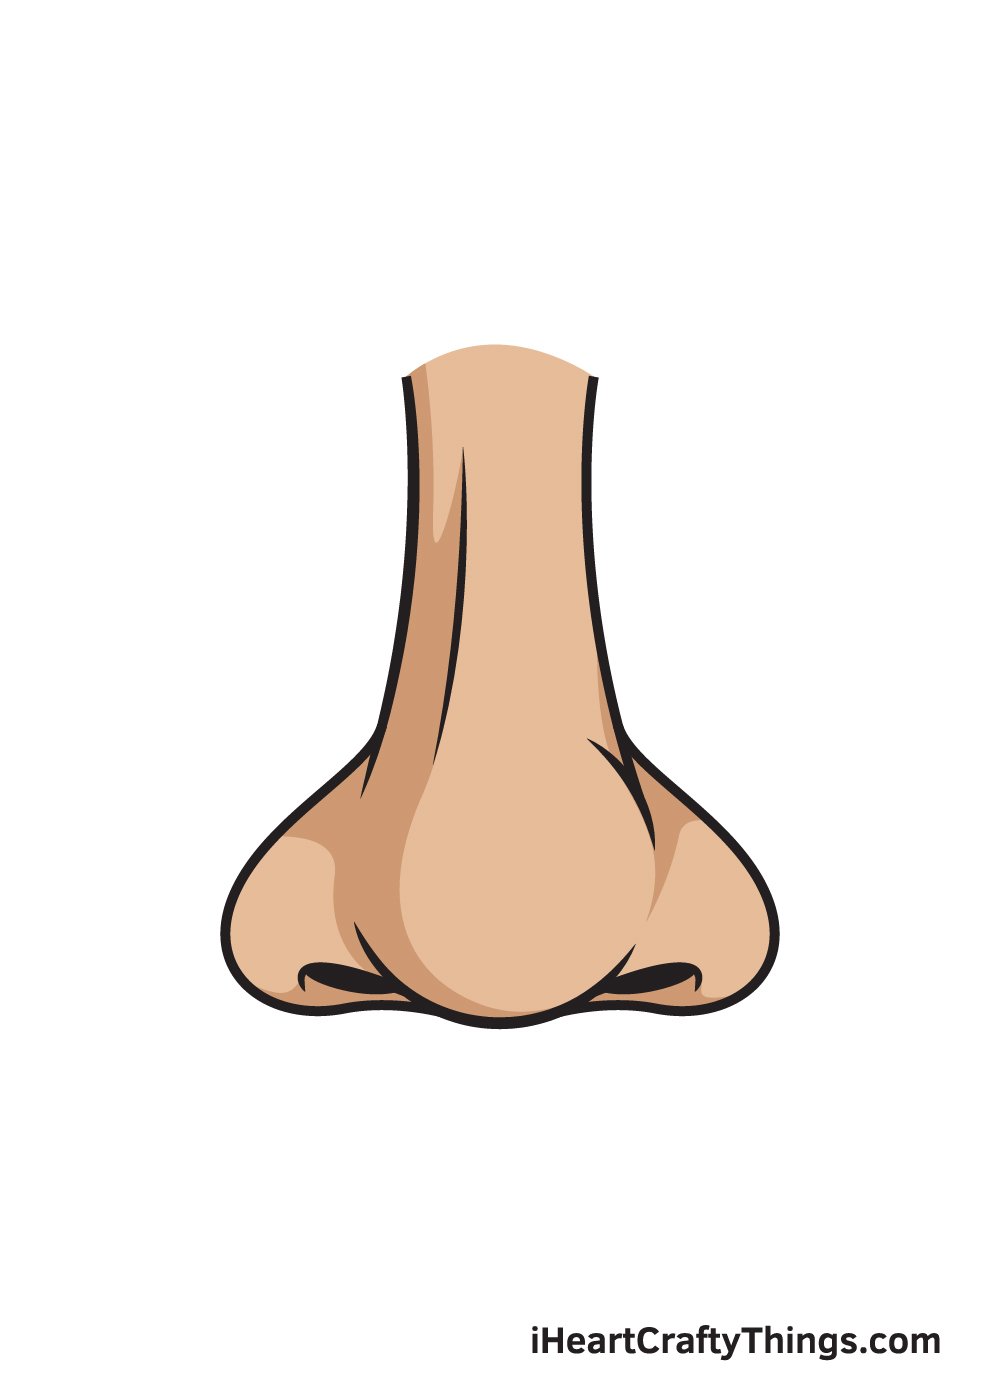
Do this to take your nose drawing to the next level
These tips we have prepared for you will show you how to make your artwork even greater!
Noses come in all shapes and sizes, so you don't necessarily have to stick to our design! Once you have the hang of it, you can change details like the bridge and nostrils to look different.
These changes can seem minor, but they can make it look completely different. It could be fun to try and create as many different kinds of noses as you can! Do you think you will change the design of this nose drawing?
When creating this nose sketch, you have a model to use right under your nose! This is literally the case, as you can use your own nose as a model using a mirror or a selfie photo.
If you don't want to use your nose, maybe you can get a family member or friend to pose for you.
Using a real example of what you're drawing can make a huge difference! It can make drawing the more subtle details much easier to get right.
Noses will often have smaller details on them that you can depict in this drawing of a nose. Some of these details may be ones like freckles and small blemishes. Some people even have noserings on their nostrils!
You could add some of these finer additions to this nose in order to make it even more unique. If you wish to do this, you may again want to refer to real noses of people you know, or you can look up some pictures.
The final suggestion is for those who are feeling a bit ambitious! Noses don't just float around, as they are connected to faces.
If you wanted to take this nose drawing to the next level, you could draw the rest of the face that it's on.
Adding details like the eyes, mouth, cheeks and ears can do a lot to create a full face. Once again, you could use your own face to help you out if you want to try this!
Your Nose Drawing is Complete!
We hope you have fun with this step-by-step nose drawing tutorial. Now that you're capable of drawing a nose, you're one step closer towards learning how to draw a realistic human face.
Who knows? Perhaps you'll learn how to draw a human face with a whole body soon!
If you enjoyed this tutorial, then you'll most definitely enjoy our lips drawing tutorial too! Check it out on our drawing tutorials catalog!
Which facial feature would you like to learn how to draw next? Let us know and we'll do our best to create a drawing tutorial for it. Stay tuned!
Once you've finished drawing and coloring a nose, don't hesitate to showcase your masterpiece! Take a picture of your artwork and share it on our Facebook page and on Pinterest.
And while you're at it, make sure to like our Facebook page too!
We're looking forward to seeing your realistic nose drawing!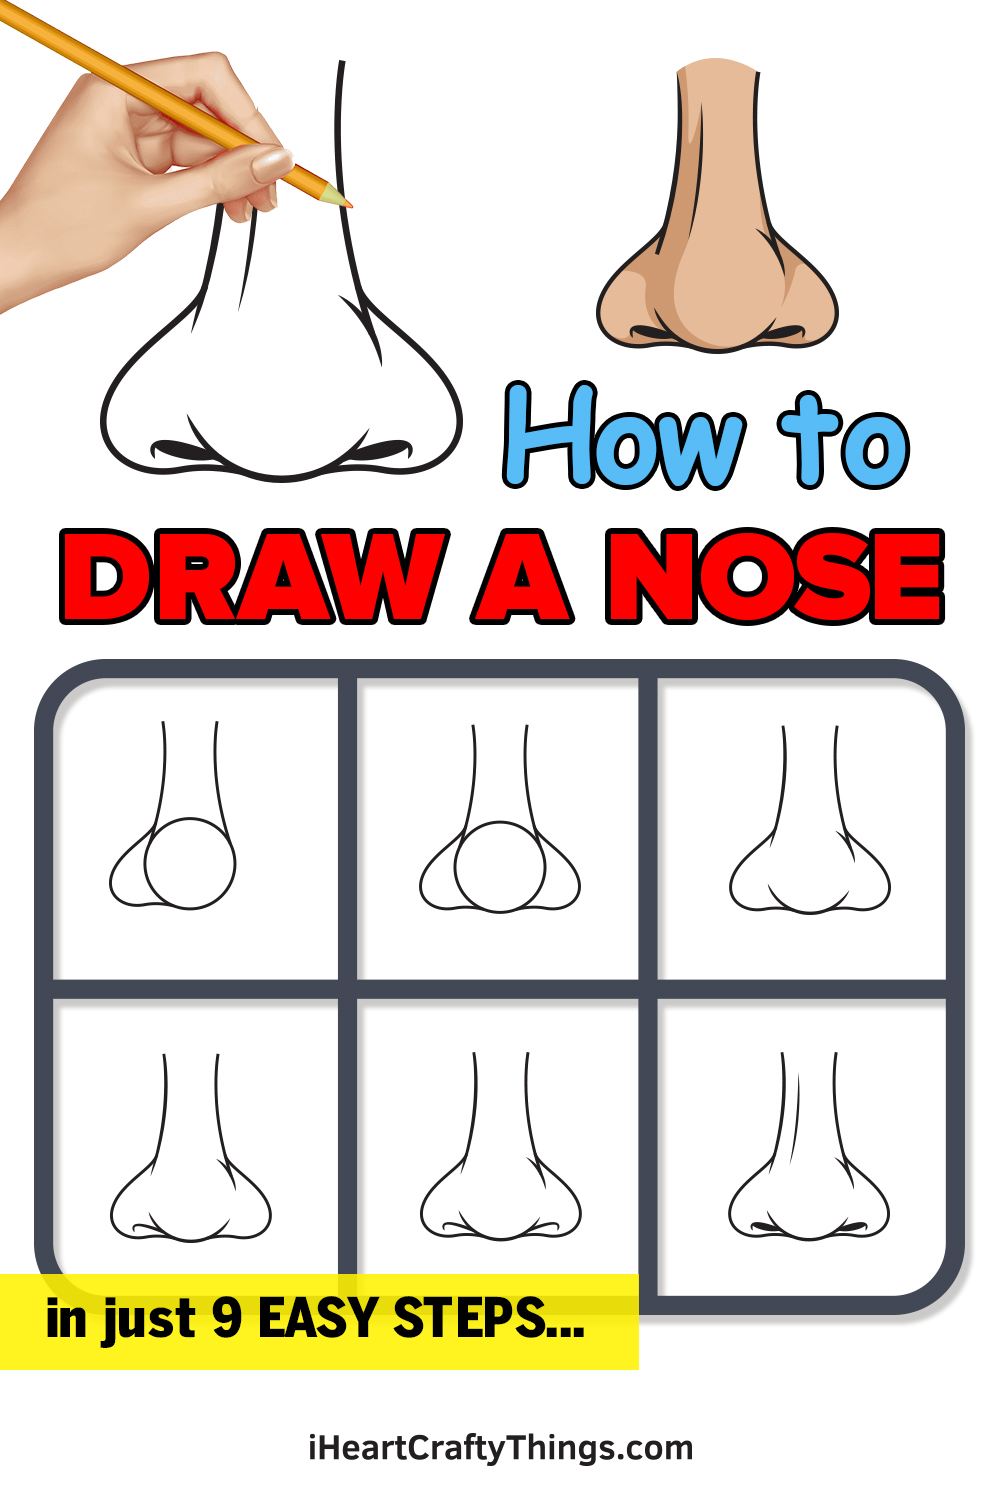
martinezhoppled77.blogspot.com
Source: https://iheartcraftythings.com/nose-drawing.html
0 Response to "Easy Way How to Draw a Nose"
Post a Comment